
HALFTONE

Give every tone
room to breathe.

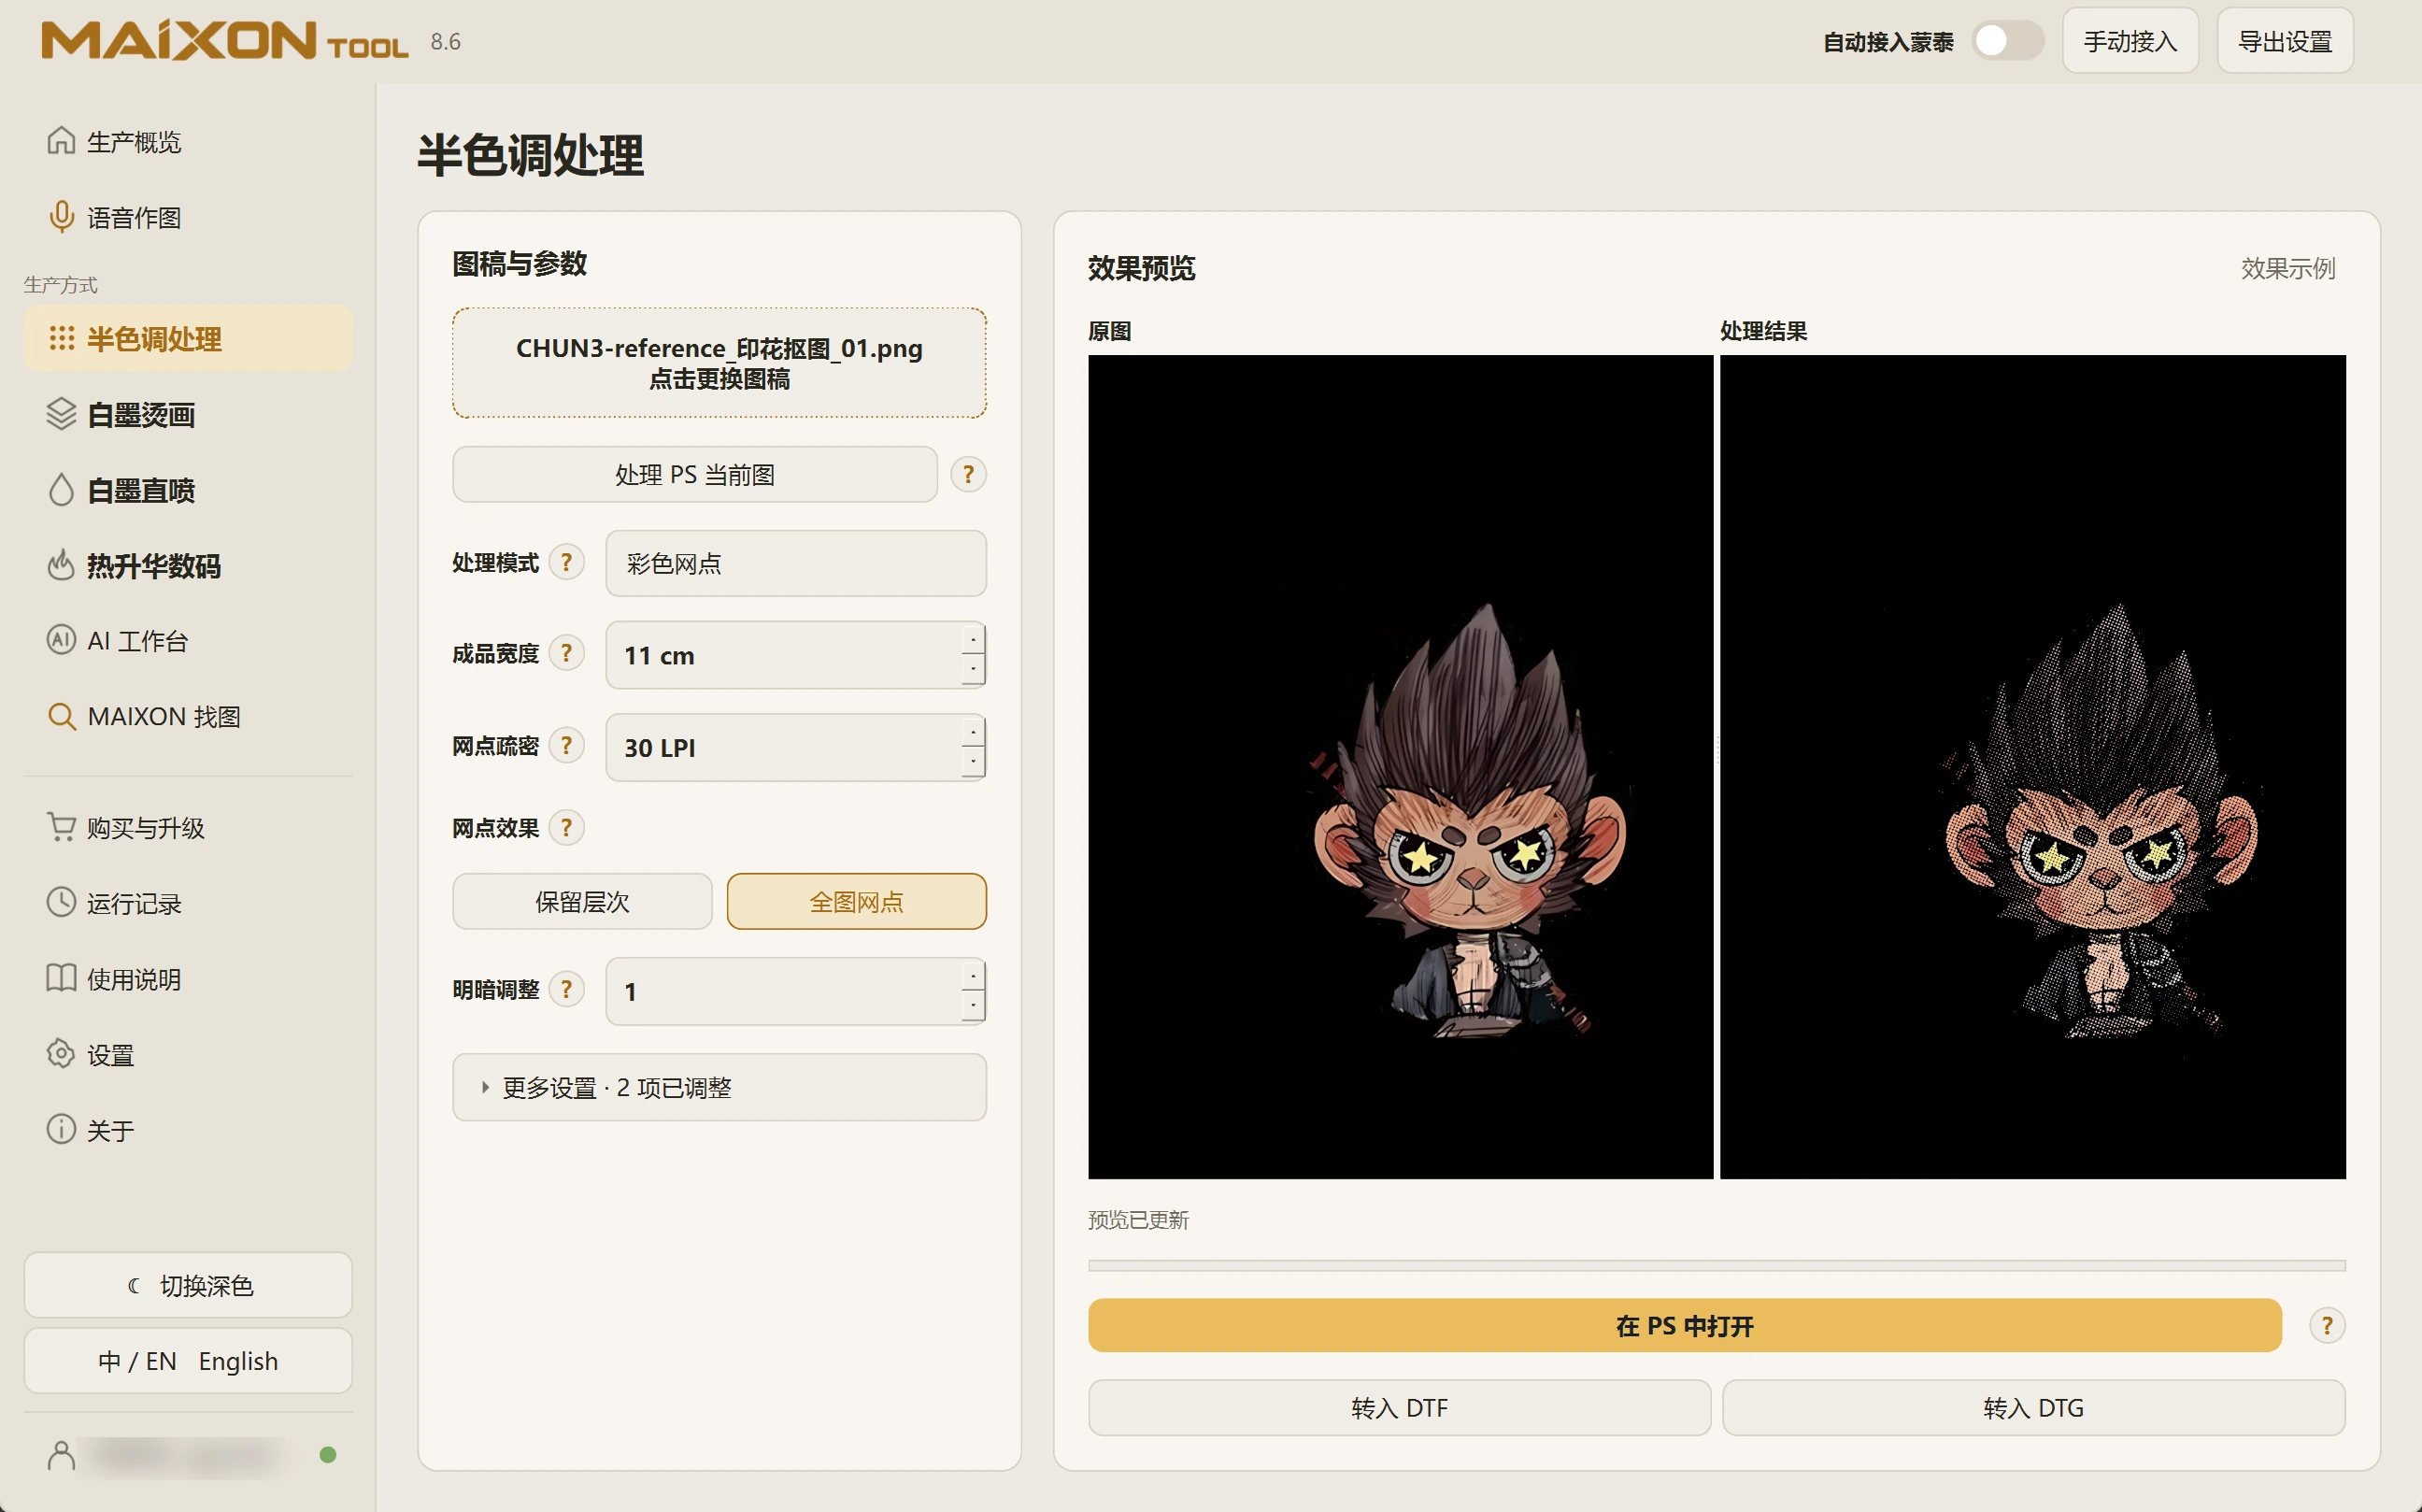
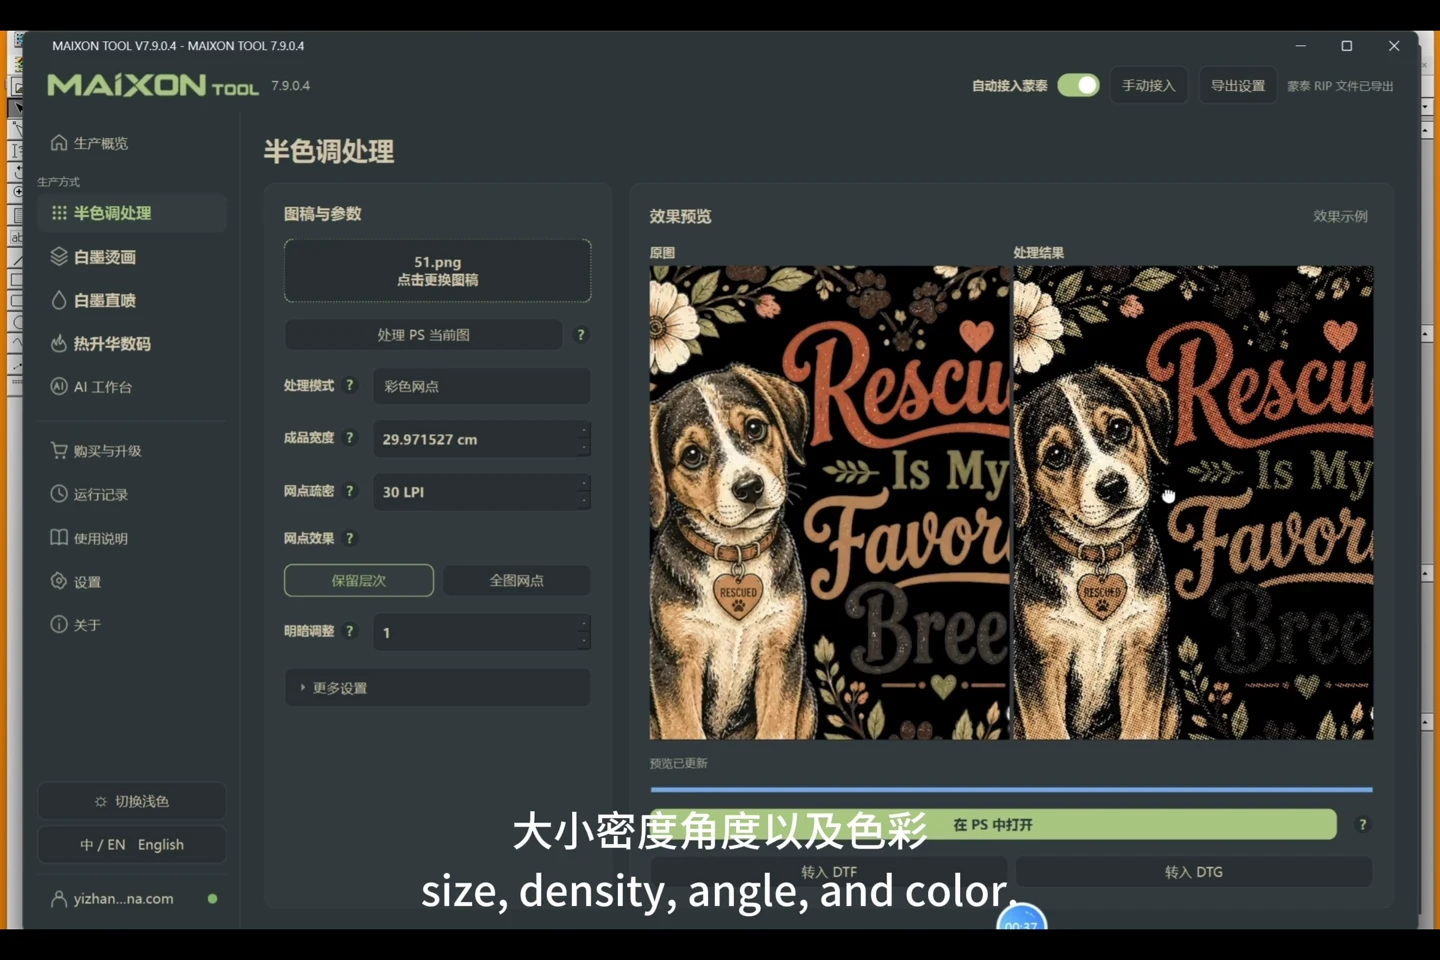
Load artwork, choose a processing mode and adjust output width, dot density, effect and brightness. Compare the result, open it in Photoshop or continue into DTF or DTG.

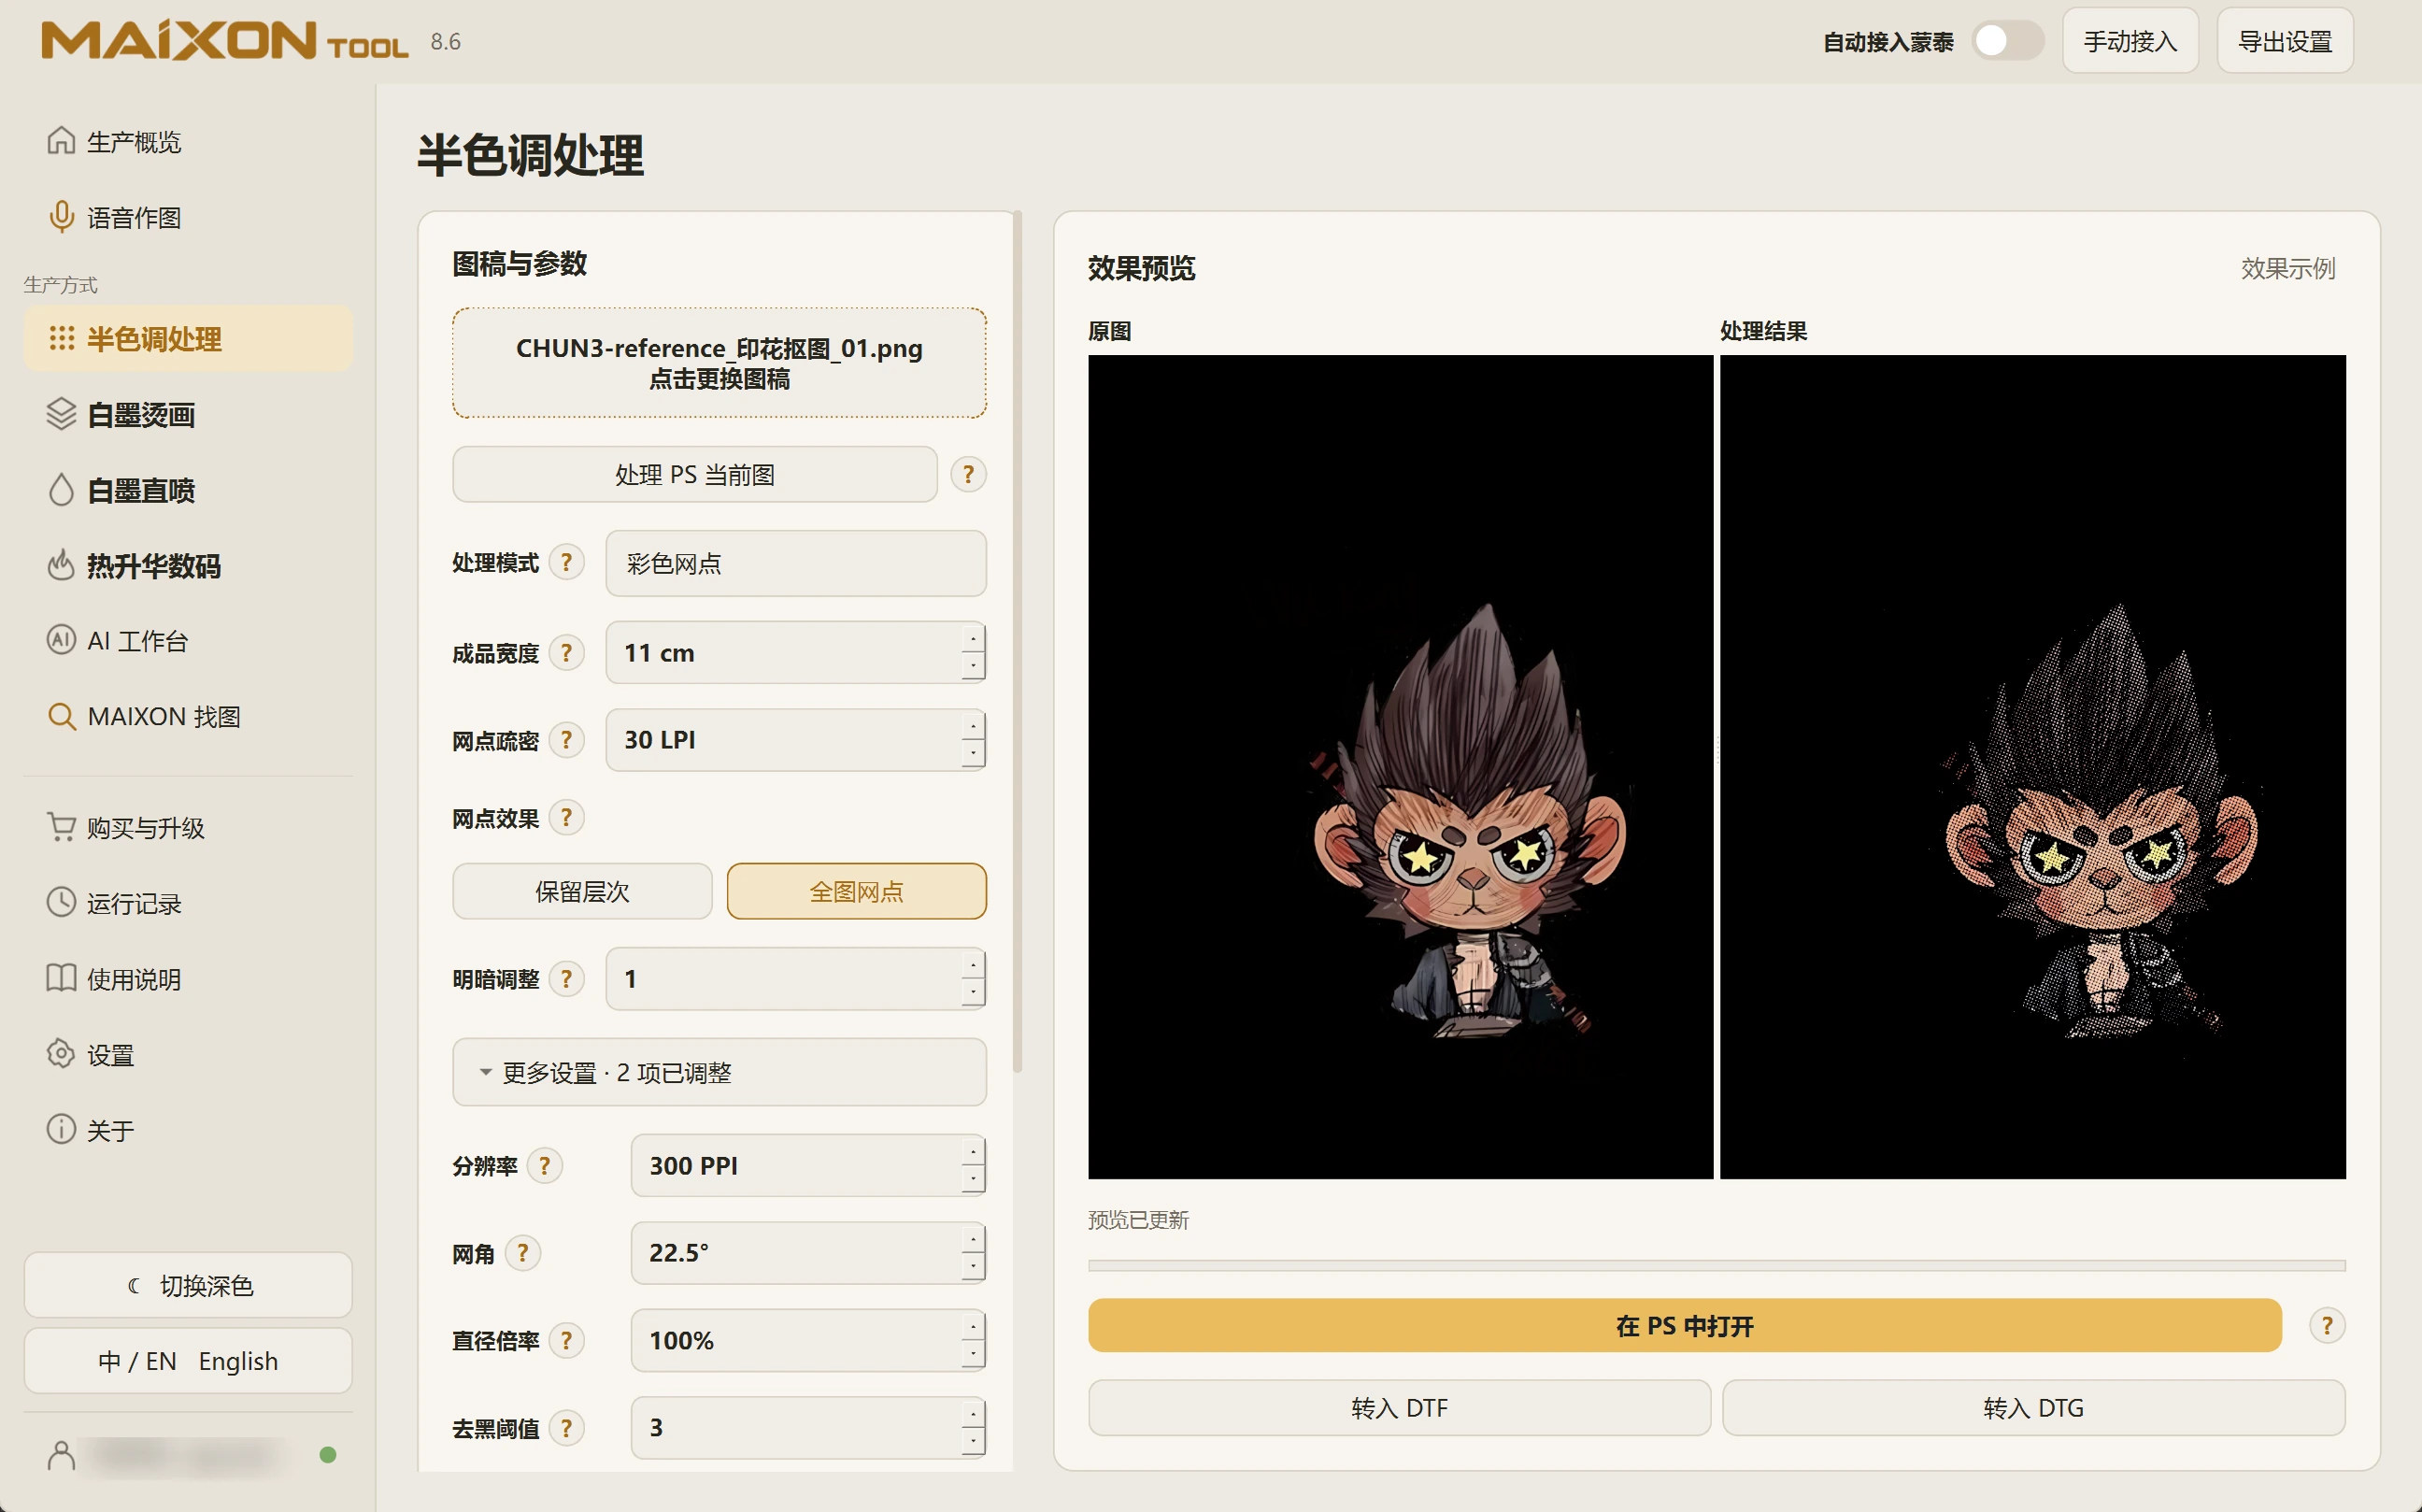
MAIXON TOOL V8.6 HALFTONE — light interface
HALFTONE

Explore each capability.

Start your first task in this order.

  1. Load artwork or use the current Photoshop image
  2. Set physical width, LPI and processing mode
  3. Compare tone-preserving and full-image dots
  4. Inspect in Photoshop or send to a production module

A few details to check.

  • LPI describes dot density; PPI describes image resolution.
  • Review the dots again after changing physical dimensions.
  • Color processing and white-underbase quantity are separate controls.

01 · Load the intended image

Choose a file or read the current Photoshop image. Confirm the artwork before setting the physical output width.

Keep the original and process a copy. When transparency is needed, remove the background in the AI Workbench and save a transparent PNG before using Halftone.

02 · Review size and dot density together

Set output width and LPI. Higher LPI means more lines per inch; resolution and dot style also affect results.

Compare tone-preserving and full-image modes, then refine effect and brightness. A small preview is not a print-detail check.

03 · Inspect additional settings

Expand additional settings and change one parameter at a time to understand its effect on edges and tones.

Review at the intended physical size in Photoshop and confirm with a print sample.

04 · Continue to production

Open the result in Photoshop or continue to DTF or DTG. Recheck size, white ink and margins there.

Color dots and white-underbase quantity are separate controls.

Explore every view.

Choose your operating system

Select the version that matches your computer.

  1. 01

    Windows 7

    V8.3

    Download
  2. 02

    Windows 10

    V8.3

    Download
  3. 03

    Windows 11

    V8.3

    Download
  4. 04

    macOS

    Coming Soon